Posted :

- so, is this an installation, or what's that?
- yeh, a quick installation, some concepts to catch, some stuff to do, so ...
- let us do it, :P.
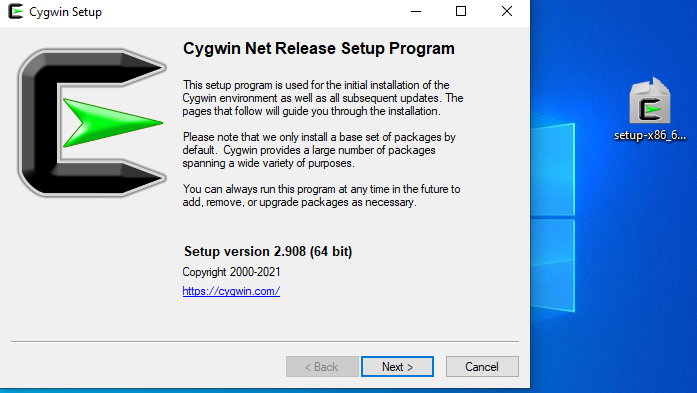
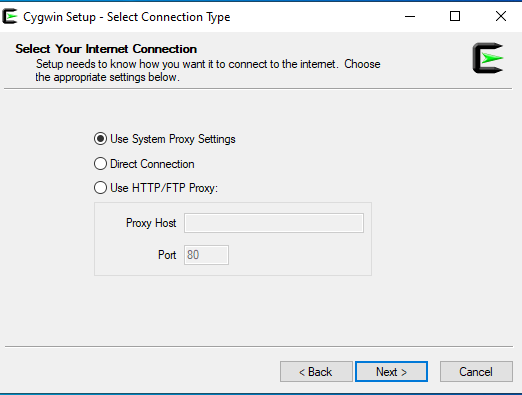
- okay, grosso modo, we will be using Cygwin, as the backend for installing our development stack.
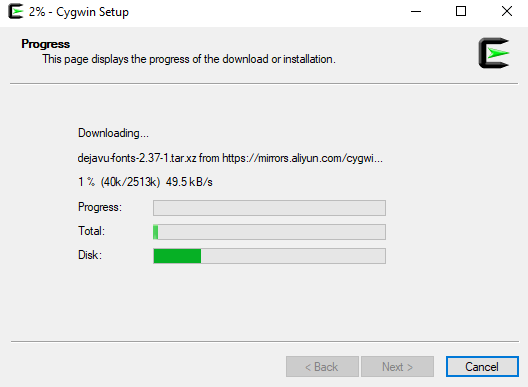
- Cygwin, oh sure, I know about this one, it can be downloaded from
here.
- kudos, so what is next?
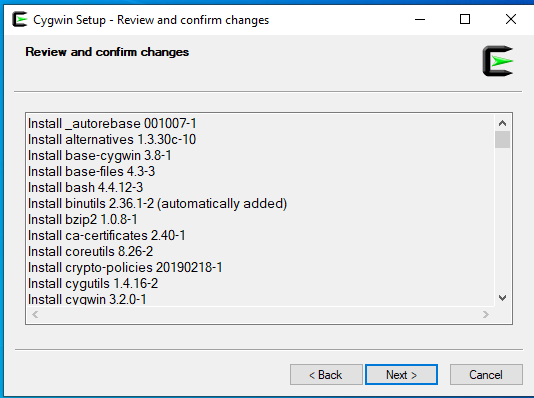
- so, yeh, you need to start by installing all the required packages, I think.
- cool, and that is what?
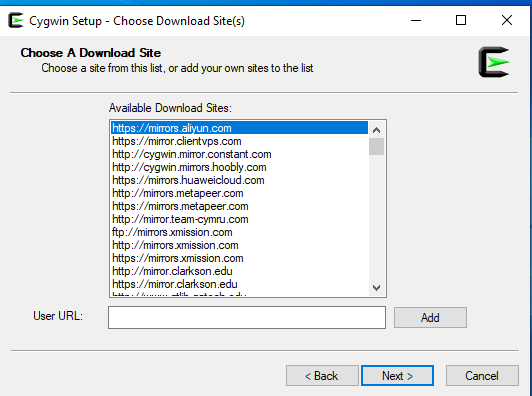
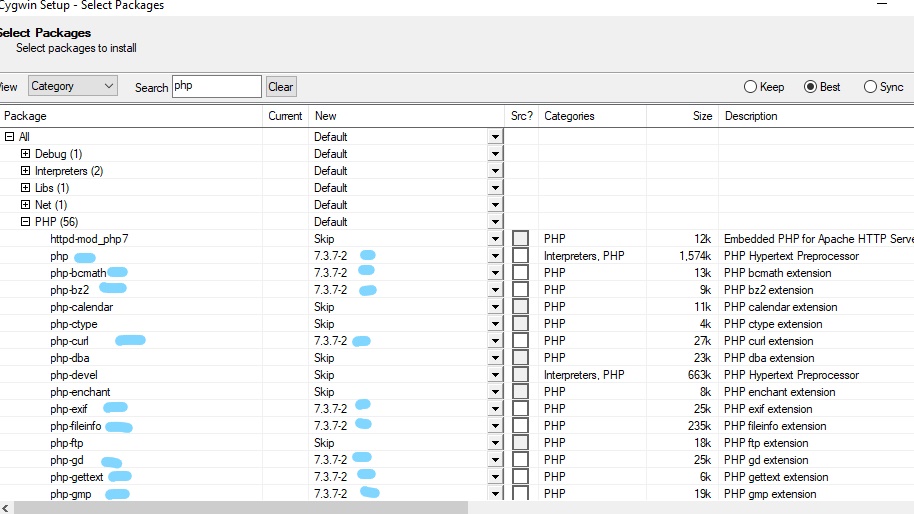
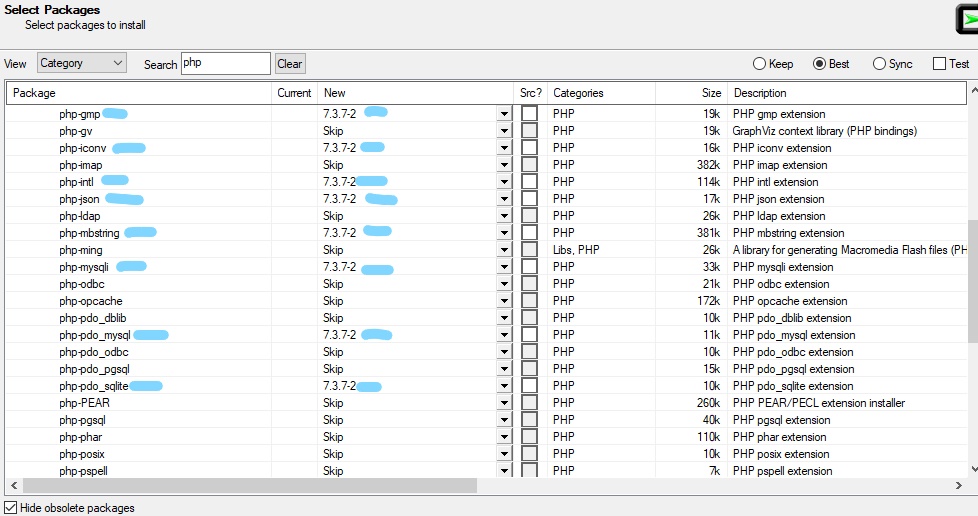
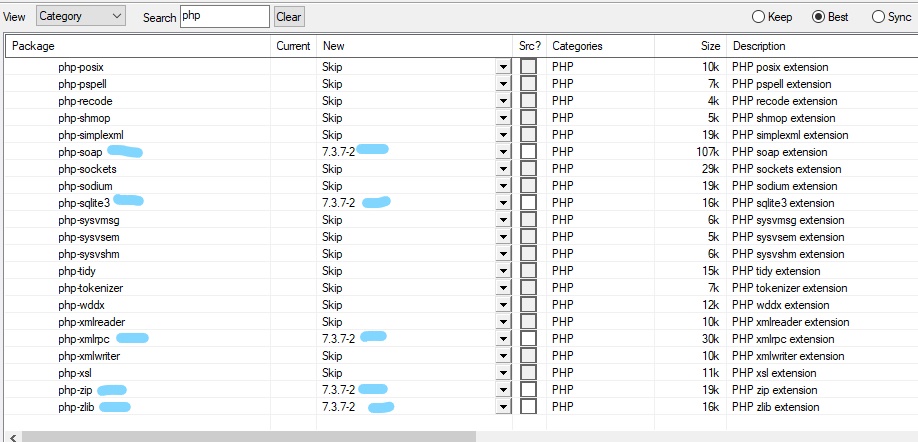
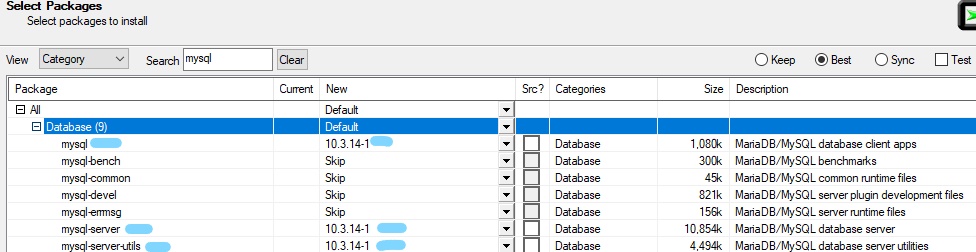
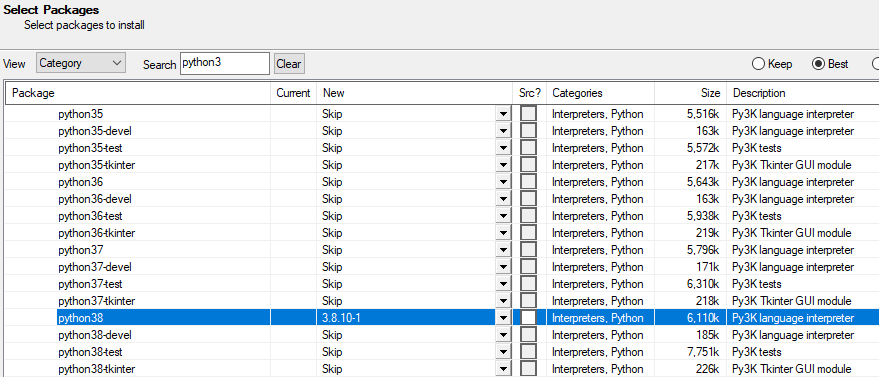
- here is a
list of things to install ,
which should be sufficient:
nginx phpphp-bcmathphp-bz2 php-curlphp-exifphp-fileinfophp-gdphp-gettextphp-gmpphp-iconvphp-intlphp-jsonphp-mbstringphp-mysqliphp-pdo_mysqlphp-pdo_sqlitephp-soapphp-sqlite3php-xmlrpcphp-zipphp-zlibmysql-servermysql-server-utilsmysqlpython38nano
-
Pictorial instructions?
- Sure, why not?


- I guess, we are forgetting something.
- is it that NodeJS thing?
- ah ok, ok, cool!
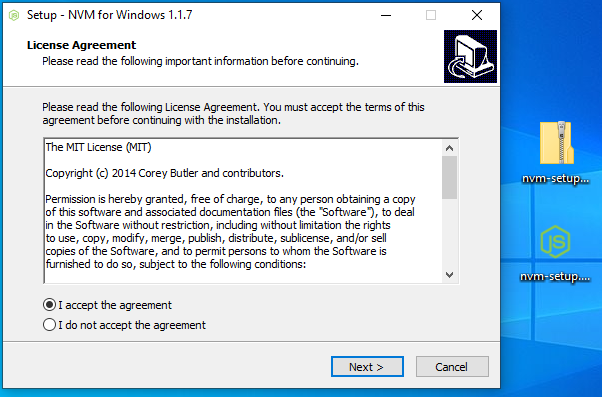
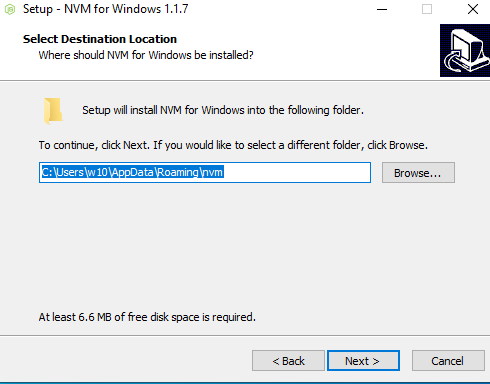
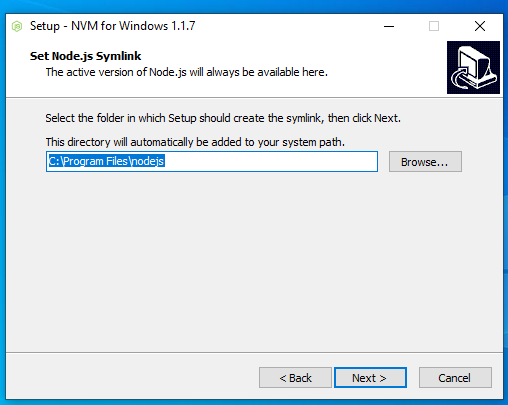
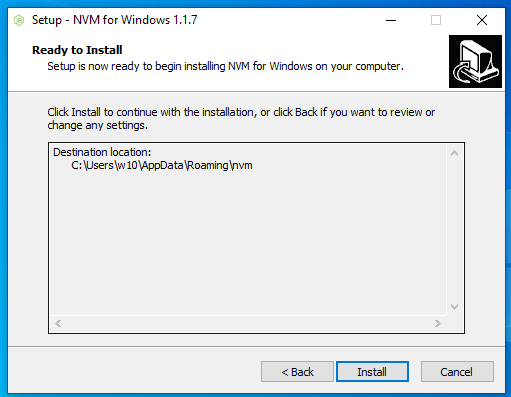
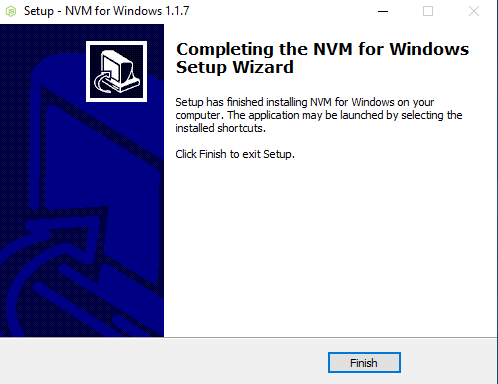
- Well, this one is easy, just
download
nvm-windows
, install it, choose
the node version ,
you want it, install it, and set it for use.
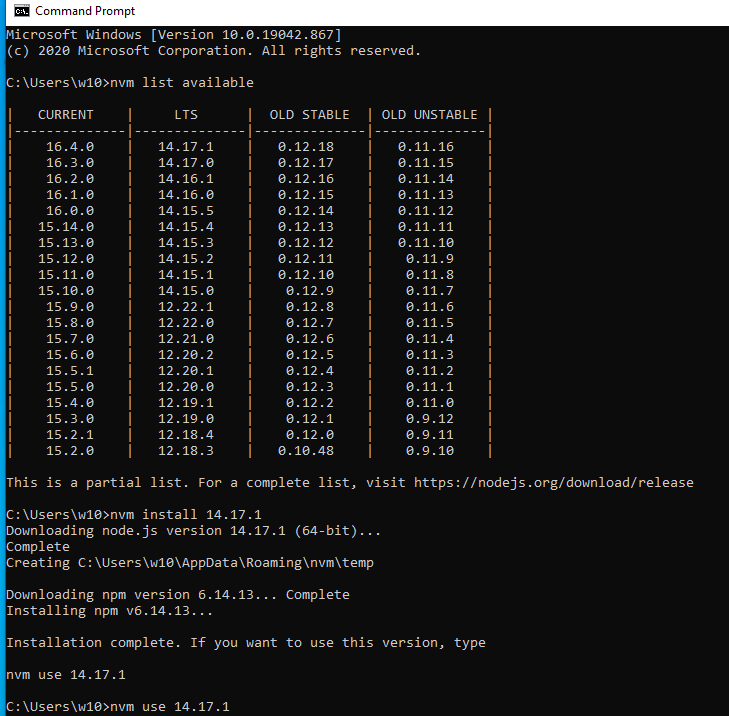
C:\Users\w10>nvm list available

|   CURRENT    |     LTS      |  OLD STABLE  | OLD UNSTABLE |
|--------------|--------------|--------------|--------------|
|    16.4.0    |   14.17.1    |   0.12.18    |   0.11.16    |
|    16.3.0    |   14.17.0    |   0.12.17    |   0.11.15    |
|    16.2.0    |   14.16.1    |   0.12.16    |   0.11.14    |
|    16.1.0    |   14.16.0    |   0.12.15    |   0.11.13    |
|    16.0.0    |   14.15.5    |   0.12.14    |   0.11.12    |
|   15.14.0    |   14.15.4    |   0.12.13    |   0.11.11    |
|   15.13.0    |   14.15.3    |   0.12.12    |   0.11.10    |
|   15.12.0    |   14.15.2    |   0.12.11    |    0.11.9    |
|   15.11.0    |   14.15.1    |   0.12.10    |    0.11.8    |
|   15.10.0    |   14.15.0    |    0.12.9    |    0.11.7    |
|    15.9.0    |   12.22.1    |    0.12.8    |    0.11.6    |
|    15.8.0    |   12.22.0    |    0.12.7    |    0.11.5    |
|    15.7.0    |   12.21.0    |    0.12.6    |    0.11.4    |
|    15.6.0    |   12.20.2    |    0.12.5    |    0.11.3    |
|    15.5.1    |   12.20.1    |    0.12.4    |    0.11.2    |
|    15.5.0    |   12.20.0    |    0.12.3    |    0.11.1    |
|    15.4.0    |   12.19.1    |    0.12.2    |    0.11.0    |
|    15.3.0    |   12.19.0    |    0.12.1    |    0.9.12    |
|    15.2.1    |   12.18.4    |    0.12.0    |    0.9.11    |
|    15.2.0    |   12.18.3    |   0.10.48    |    0.9.10    |

This is a partial list. For a complete list, visit https://nodejs.org/download/release

C:\Users\w10>nvm install 14.17.1
# This is the LTS version.
Downloading node.js version 14.17.1 (64-bit)...
Complete
Creating C:\Users\w10\AppData\Roaming\nvm\temp

Downloading npm version 6.14.13... Complete
Installing npm v6.14.13...

Installation complete. If you want to use this version, type

nvm use 14.17.1

C:\Users\w10>nvm use 14.17.1
Now using node v14.17.1 (64-bit)
- so, installation is done, now what?
- maybe we can start by configuring Nginx, php ... I think, I have no idea, really.
- heheh , okay, cool, so but seriously, now?
- okay tell you what, let us start by
configuring MySQL
, so
open the Cygwin terminal and run the following commands :
$ mysql_install_db
# create system tables .


$ nano /usr/bin/sh_mysqld
# Create a script which allows,
# starting and stopping MySQL.
# Paste the following contents.


#!/bin/sh
MYSQLD="/usr/sbin/mysqld"
MYSQL_ADMIN="/usr/bin/mysqladmin"

if [ "$1" = "start" ]; then
    echo "Starting MYSQLD"
    $MYSQLD &
    echo "Done!"
elif [ "$1" = "stop" ]; then
    echo
	echo "This might take a little bit of time."
    echo
    echo "Stopping MYSQLD, enter your mysql root password: "
    $MYSQL_ADMIN -u root -p shutdown
    echo "Done!"
else
    echo "Valid commands for mysqld: start | stop"
fi


$ chmod +x /usr/bin/sh_mysqld
# Make this script executable.


$ sh_mysqld start
# run this command, to start mysqld
# , you can stop it by running the
# command sh_mysqld stop.
# The sh_mysqld stop will ask,
# for the mysql root user password,
# which is set in the next step.
# When prompted to allow access
# through firewall, just select
# allow access.


$ mysql_secure_installation
# secure the installation,
# and choose a password for
# the root user.

If you ve just installed MariaDB,
and you haven t set the
root password yet, the password will
be blank, so you should just press
enter here.

Enter current password for root (enter for none):
OK, successfully used password, moving on...

Setting the root password ensures
that nobody can log into the MariaDB
root user without the proper authorisation.

Set root password? [Y/n] y
New password:
Re-enter new password:
Password updated successfully!
Reloading privilege tables..
 ... Success!


By default, a MariaDB installation has an
anonymous user, allowing anyone
to log into MariaDB without having to
have a user account created for
them.  This is intended only for testing,
and to make the installation
go a bit smoother.  You should remove them
before moving into a production environment.

Remove anonymous users? [Y/n] y
 ... Success!

Normally, root should only be allowed to
connect from  localhost .  This
ensures that someone cannot guess at the
root password from the network.

Disallow root login remotely? [Y/n] y
 ... Success!

By default, MariaDB comes with a
database named  test  that anyone can
access.  This is also intended only for
testing, and should be removed
before moving into a production
environment.

Remove test database and access to it? [Y/n] y
 - Dropping test database...
 ... Success!
 - Removing privileges on test database...
 ... Success!

Reloading the privilege tables will ensure
that all changes made so far
will take effect immediately.

Reload privilege tables now? [Y/n] y
 ... Success!

Cleaning up...

All done!  If you ve completed all of
the above steps, your MariaDB
installation should now be secure.

Thanks for using MariaDB!

- cool, cool, cool! I like! so what now?
-
php ?
- oh okay, so using the Cygwin terminal?
$ nano /etc/php-fpm.conf
# ctrl-w to search for ;pid =
# and replace it with
pid = /var/run/php-fpm.pid
# ctrl-x , followed by 'y'
# followed by enter to exit
# and save.


$ nano /usr/bin/sh_php_fpm
# Create this script, to
# start and stop, php-fpm.
# Paste the following content.

#!/bin/sh
PHP_FPM="/usr/sbin/php-fpm"
PHP_FPM_PID="/var/run/php-fpm.pid"

if [ "$1" = "start" ]; then
    echo "Starting PHP_FPM"
    $PHP_FPM &
    echo "Done!"
elif [ "$1" = "stop" ]; then
    echo "Stopping PHP_FPM ..."
    kill -9 -`cat $PHP_FPM_PID`
    echo "Done!"
else
	echo "Valid commands for PHP_FPM: start | stop"
fi


$ chmod +x /usr/bin/sh_php_fpm
# Make this script executable .


$ sh_php_fpm start
# starts php-fpm,
# sh_php_fpm stop can
# be used to stop it.
- okay cool, what is next?
-
nginx configuration?
- hmm, interesting, from the Cygwin terminal, run the following commands :
$ mkdir -p /var/lib/nginx/tmp
$ mkdir -p /var/log/nginx/
# create these required directories.


$ nano /usr/bin/sh_nginx
# Create this script for
# starting and stopping
# nginx.
# Paste the following content.

#!/bin/sh
NGINX="/usr/sbin/nginx"

if [ "$1" = "start" ]; then
    echo "Starting NGINX"
    $NGINX &
    echo "Done!"
elif [ "$1" = "stop" ]; then
    echo "Stopping NGINX ..."
    $NGINX -s stop
    echo "Done!"
else
	echo "Valid commands for nginx: start | stop"
fi


$ chmod +x /usr/bin/sh_nginx
# make the script executable.
- so now, what should be done?
- well, why not
configure three websites,
that nginx should serve, one for
wordpress, one for flask, and
the other for express?
$ mv /etc/nginx/nginx.conf /etc/nginx/nginx.conf.bk
# backup old nginx configuration

$ nano /etc/nginx/nginx.conf
# Create a new nginx configuration,
# paste the following content.

worker_processes  1;

include /usr/share/nginx/modules/*.conf;

events {
    worker_connections  1024;
}


http {
    include       mime.types;
    default_type  application/octet-stream;
    sendfile        on;
    keepalive_timeout  65;
    gzip  on;

    server { #wordpress site
        listen       80;
        server_name  website_wp.com; #replace by your website address
        root /var/www/html/website_wp; #replace by a destination of your choice
        index  index.php index.html index.htm;

        location / {
            try_files $uri $uri/ /index.php?$args;}

        location ~ \.php$ {
            include fastcgi.conf;
            fastcgi_pass   127.0.0.1:9000;
            fastcgi_param  SCRIPT_FILENAME  $document_root$fastcgi_script_name;
            include        fastcgi_params; } }

    server { #express site
        listen       80;
        server_name  website_ex.com; #replace by your website address
        location / {
            proxy_pass http://127.0.0.1:3000/;}}


    server { #flask site
        listen       80;
        server_name  website_fl.com; #replace by your website address
        location / {
            proxy_pass http://127.0.0.1:5000/;}}}


$ /usr/sbin/nginx.exe -t
# Test if the configuration files, are okay,
# and if prompted to allow nginx through the
# firewall, choose to allow access.
nginx: the configuration file /etc/nginx/nginx.conf syntax is ok
nginx: configuration file /etc/nginx/nginx.conf test is successful

$ sh_nginx start
# start nginx

- And what now ?
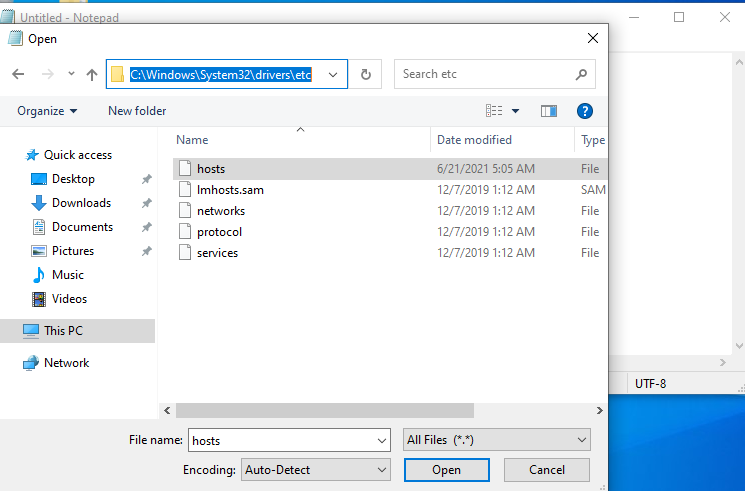
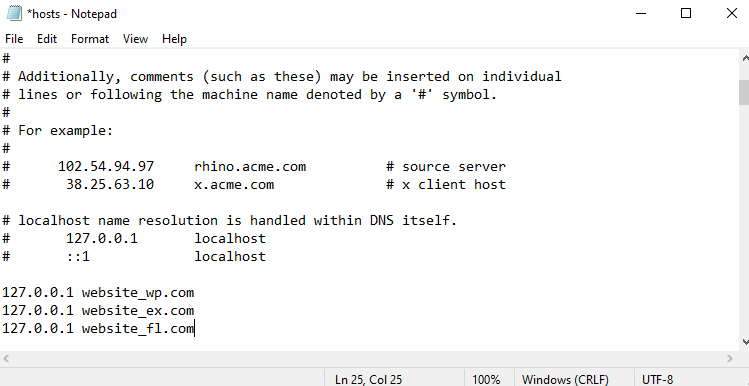
- Just
edit your C:\Windows\System32\drivers\etc\hosts
file, to make your websites resolve locally, as follows:
- And now?
- Well, it is time to have fun with your websites,
so let us start by
configuring express.
$ mkdir expr_app
# create your app directory.
$ cd expr_app
# cd into the created
# directory.
$ npm init
# create your package.json
# file.
This utility will walk you through
creating a package.json file.
It only covers the most common items,
and tries to guess sensible defaults.
See `npm help init` for definitive
documentation on these fields
and exactly what they do.
Use `npm install <pkg>` afterwards
to install a package and
save it as a dependency in
the package.json file.
Press ^C at any time to quit.
package name: (expr_app)
version: (1.0.0)
description:
entry point: (index.js)
test command:
git repository:
keywords:
author:
license: (ISC)
About to write to C:\cygwin64\home\w10\expr_app\package.json:
{
"name": "expr_app",
"version": "1.0.0",
"description": "",
"main": "index.js",
"scripts": {
"test": "echo \"Error: no test specified\" && exit 1"
},
"author": "",
"license": "ISC"
}
Is this OK? (yes)
$ npm install express --save
# install express
$ nano test.js
# Paste the following content
# which will be just accessible
# from http://website_ex.com/
const express = require ('express' )
const app = express ( )
const port = 3000
app .get ('/', (req, res ) => {
res .send ('Hello World!' )})
app .listen (port, ( ) => {
console .log(`Example app listening at http://localhost:${port }` )})
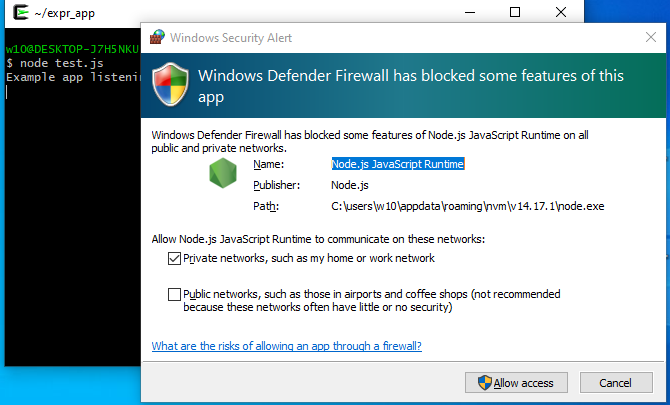
$ node app.js
# run your application,
# and visit the website
# http://website_ex.com/
# for confirmation.
# Do not forget, to allow
# express through your
# firewall when prompted.

- okay cool,
what about flask
?
- hmmm, you know ... from the Cygwin terminal?
$ pip3.8 install virtualenv
# install virtualenv
$ mkdir flask_app
# create a directory for
# your web application.
$ cd flask_app/
# cd into the created
# directory.
$ virtualenv .venv
# create a virtual environment.
$ source .venv/bin/activate
# activate the virtual environment.
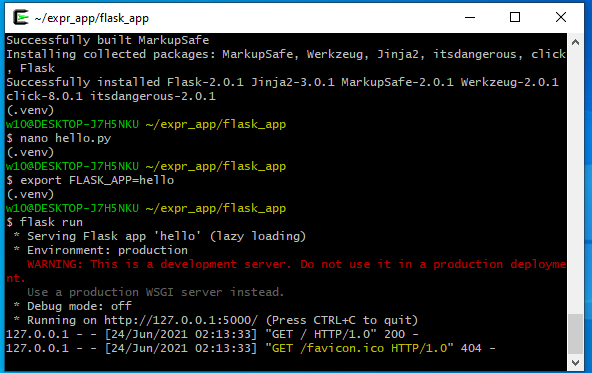
$ pip install Flask
# install flask
$ nano hello.py
# Create a test file,
# which can be accessed
# from website_fl.com
from flask import Flask
app = Flask(__name__)
@app.route("/")
def hello_world():
return "<p>Hello, World!</p>"
$ export FLASK_APP=hello
$ flask run
# run your flaks app,
# and visit your website
# http://website_fl.com/

- okay,
wordpress i guess
... yeh, I know, i know, the terminal...
$ mkdir -p /var/www/html/website_wp
# create your wordpress website
# directory, the one configured
# under nginx.conf

$ cd /var/www/html/website_wp
# cd into the created directory.

$ curl -o latest.tar.gz  https://wordpress.org/latest.tar.gz
# download latest wordpress
# setup files.


$ tar -xzf latest.tar.gz
# extract the downloaded archive.


$ mv wordpress/* .
# move the extracted data to
# the created folder, root
# directory.


$ rm -r wordpress/
# remove the empty directory


$ mysql -u root -p
# connect to mysql, enter your
# password when prompted.
Enter password:

CREATE DATABASE wordpress_db;
# Create a database, you can
# change wordpress_db for your
# liking.

CREATE USER 'wordpress_u'@'localhost' IDENTIFIED BY 'password';
# create a user, you can change
# wordpress_u for anything you
# like, and password for a
# password of your choice.

GRANT ALL PRIVILEGES ON wordpress_db.* TO 'wordpress_u'@'localhost';
# grant privileges for the
# wordpress_db to the wordpress_u

FLUSH PRIVILEGES;
# flush the privileges

EXIT
# exit your connection.


$ cp wp-config-sample.php wp-config.php
# create a wordpress configuration
# file.


$ nano wp-config.php
# edit the wordpress configuration
# file, so that you define DB_NAME,
# DB_USER, DB_PASSWORD, as chosen
# earlier.
# Additionally, make sure that
# DB_HOST, and FS_METHOD are
# defined as shown.

/** MySQL database */
define( 'DB_NAME', 'wordpress_db' );

/** MySQL database username */
define( 'DB_USER', 'wordpress_u' );

/** MySQL database password */
define( 'DB_PASSWORD', 'password' );

/** MySQL hostname */
define( 'DB_HOST', '127.0.0.1' );

define( 'FS_METHOD', 'direct' );
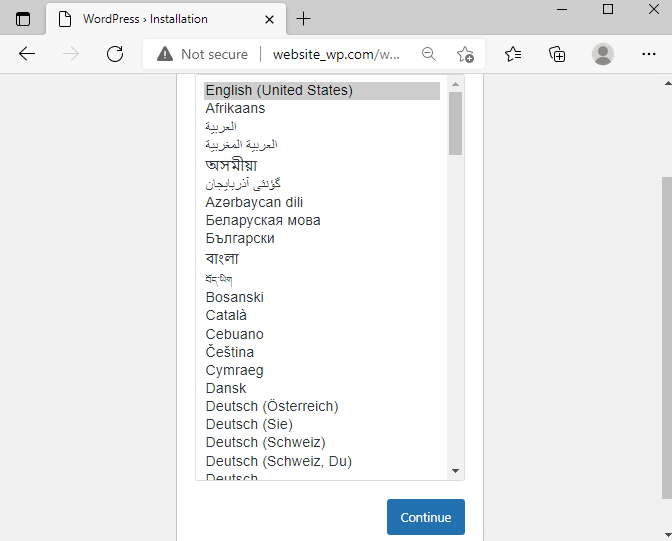
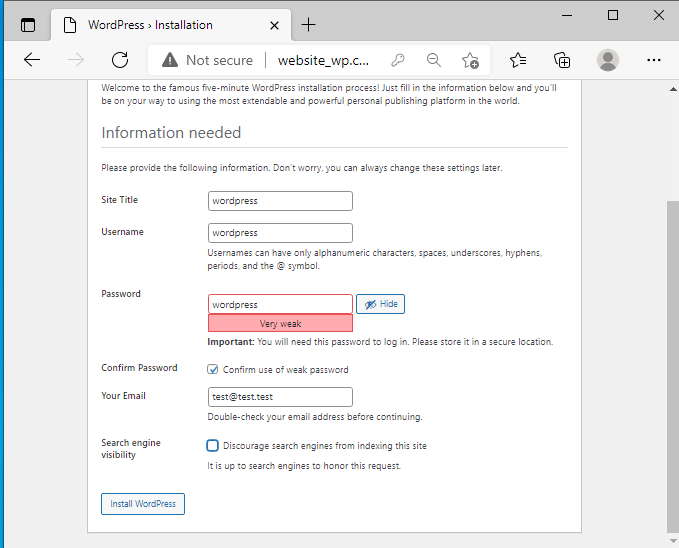
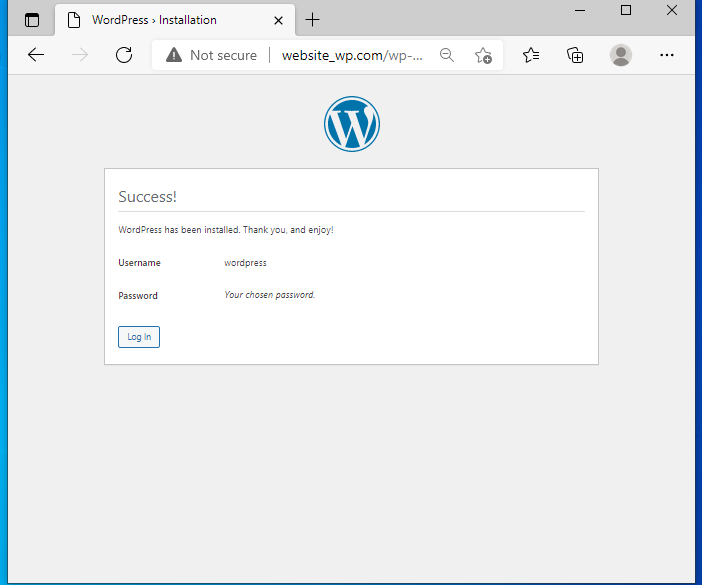
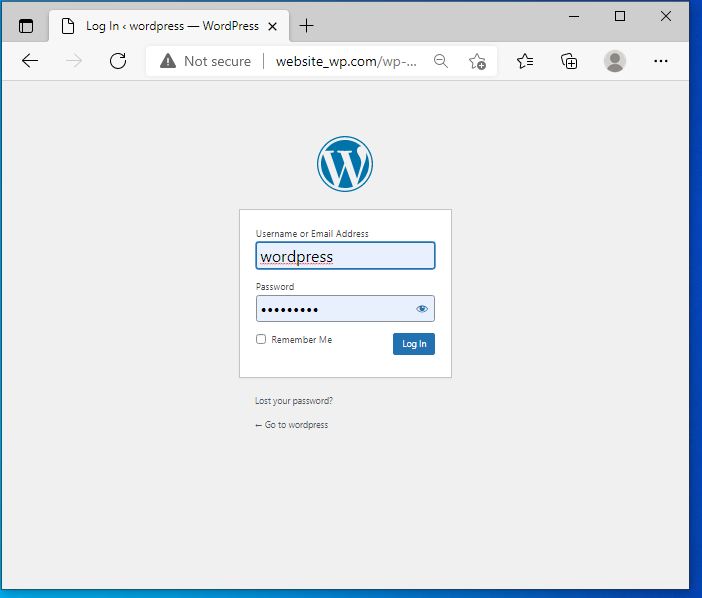
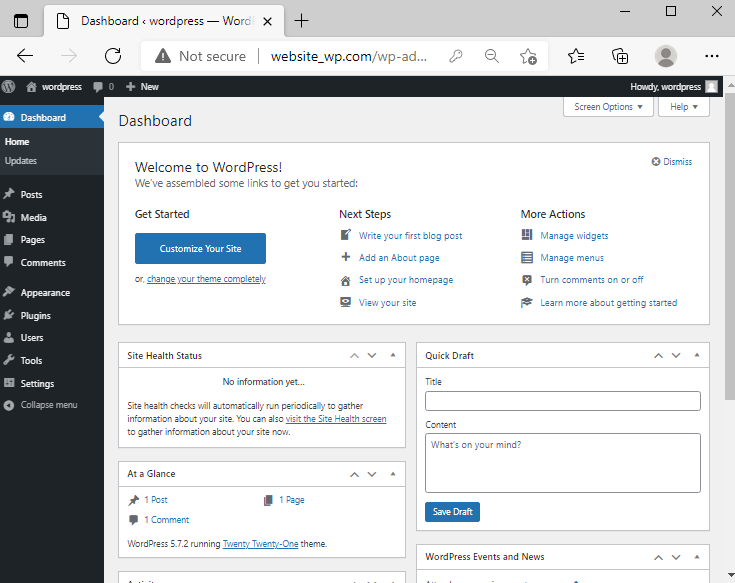
- once this is done, we just must
visit the address configured in nginx,
for example in this case
http://website_wp.com and follow the instructions.
 Home
Home